


WhatsApp is one of the most popular and widely used messaging platforms in the world, with over 2 billion monthly active users. It offers a convenient and secure way to communicate with friends, family, and businesses. But did you know that you can also create your own WhatsApp bot to automate tasks, provide information, and interact with your customers or users?
In this ultimate guide, I will show you how to create a WhatsApp bot using NestJS, a progressive Node.js framework for building efficient and scalable server-side applications.
👉 By following this guide, you will learn how to:
Set up your NestJS project and install the required dependencies. Integrate your NestJS application with the WhatsApp web using whatsapp-web.js
Create and configure your WhatsApp bot controller and service
Implement various features and functionalities for your WhatsApp bot, such as sending and receiving messages,and more
Test your WhatsApp bot
To begin I am MUHESI VYAHAVWA Moïse, a professional full-stack web engineer who has been working in this area for more than 4 years. I efficiently solve my clients's problems.
Ready to get started? Let’s dive in! 🚀
Prerequisites:
NodeJs should be installed on your system.
Knowledge of the Nestjs framework
Knowledge of the javascript programming language
An overview of the basic concepts
NestJS is a progressive Node.js framework for building efficient, reliable and scalable server-side applications. It is built with and fully supports TypeScript, and combines elements of Object-Oriented Programming (OOP), Functional Programming (FP) and also Functional Reactive Programming (FRP).
It also offers a modular architecture, a rich ecosystem, and enterprise-ready features such as microservices, web apps, and dependency injection. You can learn more about NestJS from its official website or its documentation. 😊
WhatsApp-web.js is a JavaScript library for interacting with WhatsApp Web. Here are some details about this package: Connecting to WhatsApp Web: It uses Puppeteer to run a real instance of WhatsApp Web to avoid being blocked. 😊
This package supports a variety of features, including sending and receiving messages, sending and receiving media (images/audio/documents), sending locations, group management and more.
Note that WhatsApp does not allow bots or unofficial clients on their platform, so using this package may not be safe.
Too many theories it's time to practice 😊, let us create a nestjs project called whatsapp_bot from your this command in your terminal
npm i -g @nestjs/cli
nest new whatsapp_bot
once we setup project, let's run this command to install all necessary packages
cd ./whatsapp_bot
yarn add @nestjs/event-emitter qrcode whatsapp-web.js
@nestjs/event-emitter: is a package that allows you to use events in your NestJS applications. Events are a way of communicating between different parts of your application without creating direct dependencies.qrcode: to generate the qrcode during the authenticationwhatsapp-web.js: As I said before, WhatsApp-web.js will allow us to interact with WhatsApp Web.
Now let's to implement the bot module in our application : open your terminal and tape this commands:
nest g mo modules/bot --no-spec
nest g co modules/bot --no-spec
nest g s modules/bot --no-spec
With these commands, we created the bot module in the modules directory.
The first command: created the module file
bot.module.tsThe second command creates the
bot.controller.ts.The last one creates the service file
bot.service.ts.
The --no-spec option tells NestJS not to generate a test specification file for the module. If you want to read more about nestjs CLI, click here
In the app.module.ts we add `import { EventEmitterModule } from "@nestjs/event-emitter"` and we initialize event transmitter like this :
import { Module } from '@nestjs/common';
import { EventEmitterModule } from '@nestjs/event-emitter';
import { AppController } from './app.controller';
import { AppService } from './app.service';
import { ModulesController } from './bot/modules/modules.controller';
import { BotModule } from './modules/bot/bot.module';

@Module({
  imports: [BotModule, EventEmitterModule.forRoot()],
  controllers: [AppController, ModulesController],
  providers: [AppService],
})
export class AppModule { }
Events are an excellent way to decouple various aspects of your application, as a single event can have multiple listeners that do not depend on each other.
Note that EventEmitterModule.forRoot() initializes the event emitter and registers all declarative event listeners that exist within our application.
Then let's open bot.controller.ts and put this code
import { Controller, Get, Res } from '@nestjs/common';
import { BotService } from './bot.service';
import * as QRCode from 'qrcode';
import { Response } from 'express';
import { OnEvent } from '@nestjs/event-emitter';

@Controller('bot')
export class BotController {
  private qrCode: string;
  constructor(private botService: BotService) {}

  @OnEvent('qrcode.created')
  handleQrcodeCreatedEvent(qrCode: string) {
    this.qrCode = qrCode;
  }

  @Get('qrcode')
  async getQrCode(@Res() response: Response) {
    if (!this.qrCode) {
      return response.status(404).send('QR code not found');
    }

    response.setHeader('Content-Type', 'image/png');
    QRCode.toFileStream(response, this.qrCode);
  }
}
We have 2 important methods here:
  @OnEvent('qrcode.created')
  handleQrcodeCreatedEvent(qrCode: string) {
    this.qrCode = qrCode;
  }
This is a method that listens to the event (via @OnEvent() decorator) qrcode.created and updates the qrCode property with the received value.
   @Get('qrcode')
  async getQrCode(@Res() response: Response) {
    if (!this.qrCode) {
      return response.status(404).send('QR code not found');
    }
    response.setHeader('Content-Type', 'image/png');
    QRCode.toFileStream(response, this.qrCode);
  }
This is a method for handling GET requests on the /qrcode path. If the qrCode property is not set, it returns a 404 response with the message QR code not found. Otherwise, it sets the 'Content-Type' header of the response to 'image/png' and sends the QR code as a file stream.
After that let's go to bot.service.ts file and put the below code:
import { Injectable, Logger, OnModuleInit } from '@nestjs/common';
import { EventEmitter2 } from '@nestjs/event-emitter';
import { Client, LocalAuth } from 'whatsapp-web.js';

@Injectable()
export class BotService implements OnModuleInit {
  private client: Client = new Client({
    authStrategy: new LocalAuth(),
  });
  private readonly logger = new Logger(BotService.name);

  constructor(private eventEmitter: EventEmitter2) {}

  onModuleInit() {
    this.client.on('qr', (qr) => {
      this.logger.log(
        `QrCode: http://localhost:${3000}/bot/qrcode`,
      );
      this.eventEmitter.emit('qrcode.created', qr);
    });

    this.client.on('ready', () => {
      this.logger.log("You're connected successfully!");
    });

    this.client.initialize();
  }
}
The BotService class is declared as a service injectable into the NestJS application. It implements the OnModuleInit interface, which has an onModuleInit method that will be called when the module is initialized.
this method defines two event handlers for the WhatsApp client:
one for the 'qr' event
and another for the 'ready' event.
It then initializes the client.
Note that nestjs applications run on 3000 port(by default) raison why I've taken 3000 also.
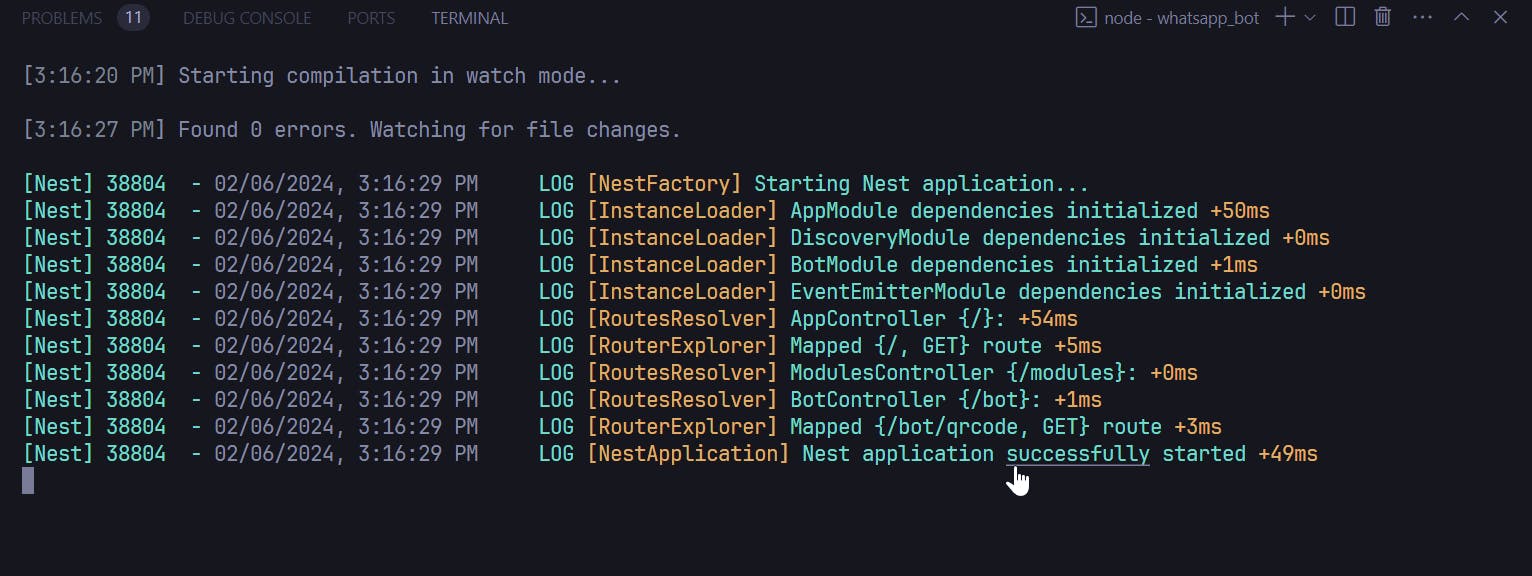
Run your app to connect this to your WhatsApp account
Open your terminal and enter the below command to run the application
yarn start:dev
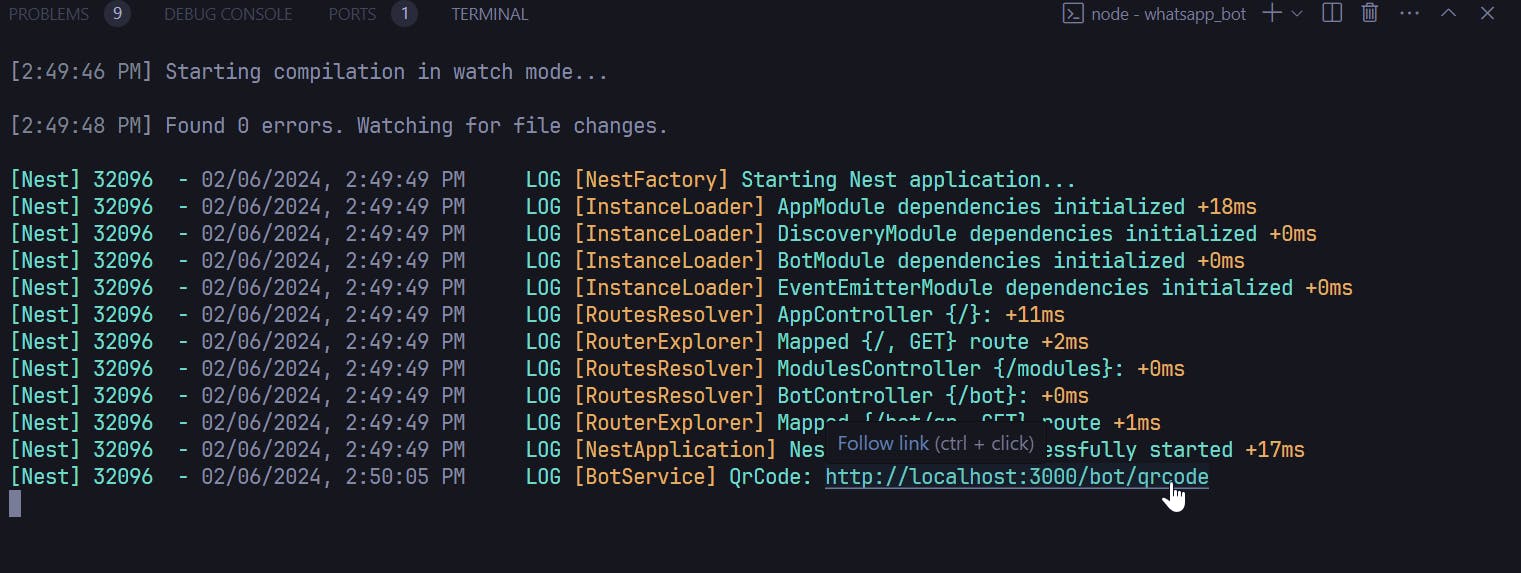
As you can see we have QrCode:http://localhost:3000/bot/qrcode
You’ll see a QR code to scan in the browser. Scan it with your Whatsapp mobile application.
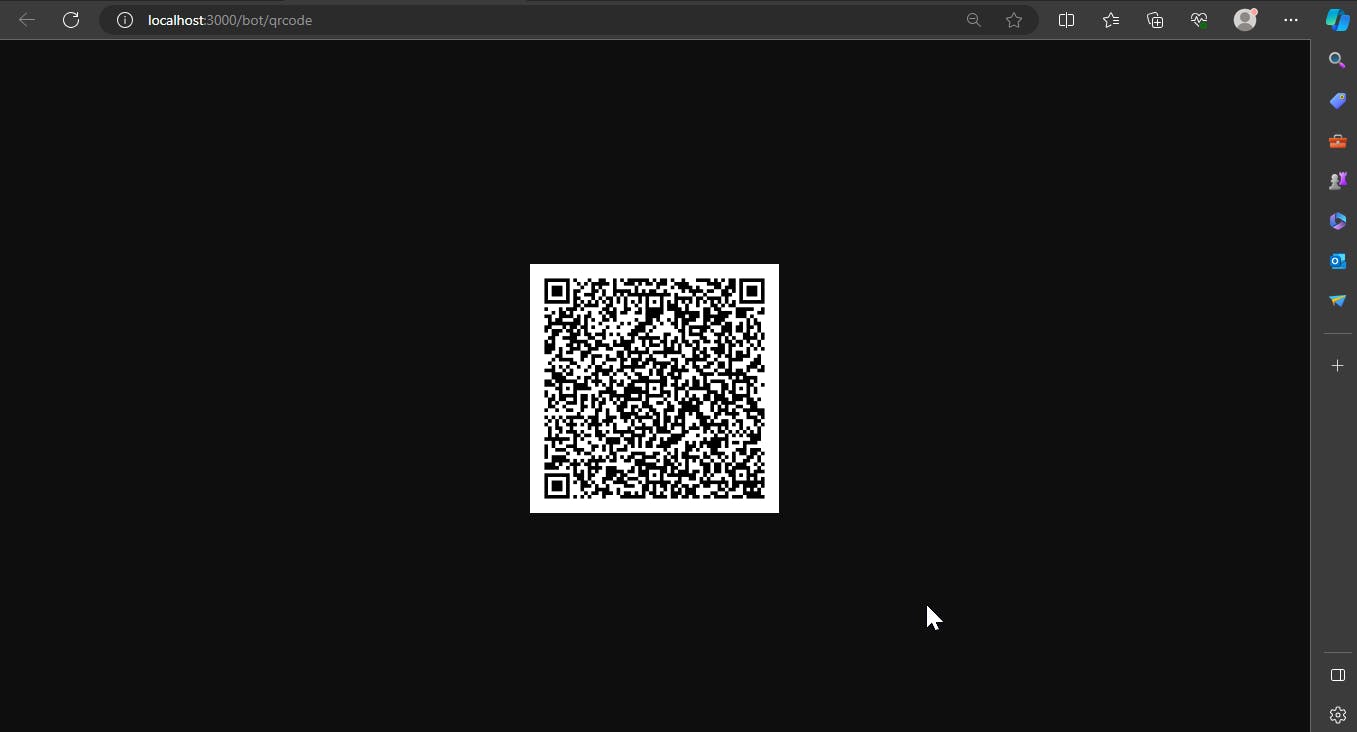
A QR code to scan, once the app running
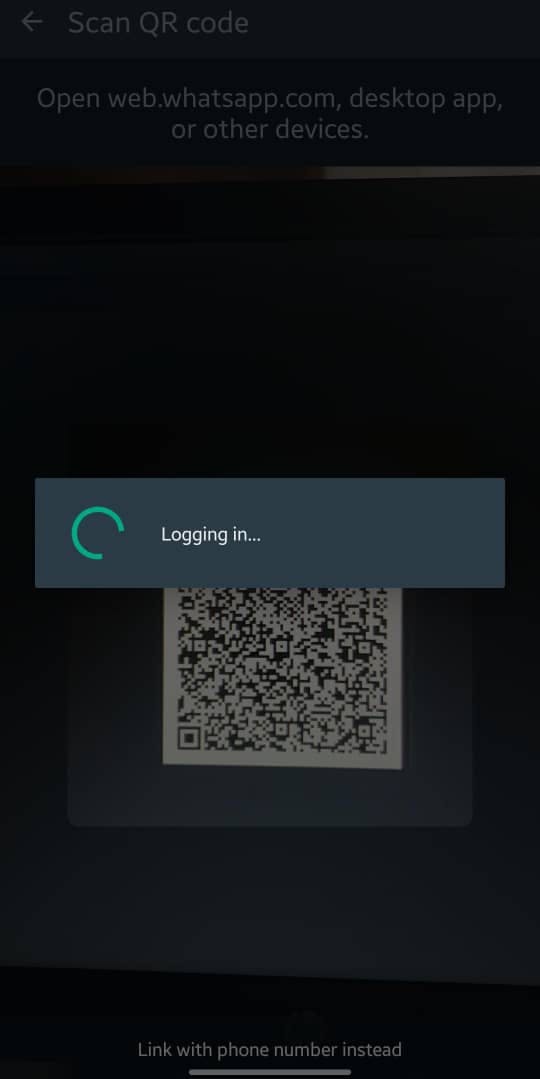
Once you are connected to your WhatsApp account you can see in your terminal ,the message You're connected successfully!, on the last line. 😊
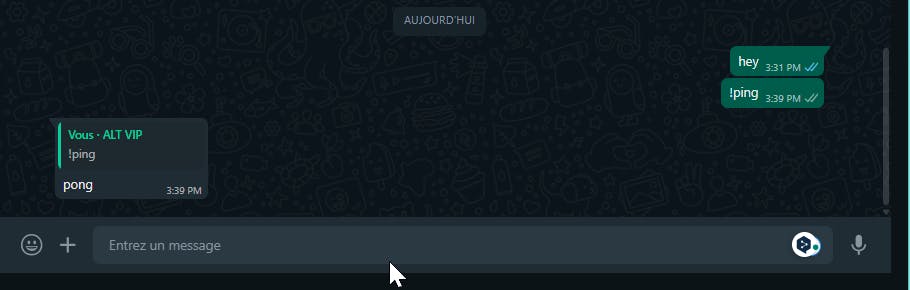
So how do you send or receive a message?
Finally, we're going to add an event that will let you know when you receive a message:
In your bot.service.ts file add this code to the onModuleInit method :
    this.client.on('message', (msg) => {
      this.logger.verbose(`${msg.from}: ${msg.body}`);
      if (msg.body == '!ping') {
        msg.reply('pong');
      }
    });
Basically,this.logger.verbose(`${msg.from}: ${msg.body}`)
This line of code prints the message received, containing the message sender (msg.from) and the message body (msg.body).
The following condition allows you to reply to the message if the body corresponds to !ping
Full code of bot.service.ts file is :
import { Injectable, Logger, OnModuleInit } from '@nestjs/common';
import { EventEmitter2 } from '@nestjs/event-emitter';
import { Client, LocalAuth } from 'whatsapp-web.js';

@Injectable()
export class BotService implements OnModuleInit {
    private client: Client = new Client({
        authStrategy: new LocalAuth(),
    });
    private readonly logger = new Logger(BotService.name);

    constructor(private eventEmitter: EventEmitter2) { }

    onModuleInit() {
        this.client.on('qr', (qr) => {
            this.logger.log(
                `QrCode: http://localhost:${3000}/bot/qrcode`,
            );
            this.eventEmitter.emit('qrcode.created', qr);
        });

        this.client.on('ready', () => {
            this.logger.log("You're connected successfully!");
        });

        this.client.on('message', (msg) => {
            this.logger.verbose(`${msg.from}: ${msg.body}`);
            if (msg.body == '!ping') {
                msg.reply('pong');
            }
        });
        this.client.initialize();
    }
}
So to test that, stop your server (in your terminal do ctrl+c ) and run again
yarn run start:dev

Conclusion
In this post, we have learned how to create a WhatsApp bot using Nestjs framework. We have seen how to set up the project, install the dependencies, and use the whatsapp-web.js to send and receive messages. We have also explored how to reply to a message, and how to use Nestjs modules, services, and controllers to organize our code and we have tested our bot.
I hope you enjoyed this tutorial and found it useful. Nestjs is a powerful and scalable framework that allows you to build fast and efficient applications with TypeScript. WhatsApp is a popular and widely used messaging platform that offers many possibilities for creating engaging and interactive bots. By combining these two technologies, you can create amazing WhatsApp bots that can serve various purposes, such as customer service, entertainment, education, and more.
Written by Moise Muhesi
I share the documentation. Thanks for sharing, like, commenting and ifyou have any questions, feedback, or suggestions, please feel free to leave a comment below. Thank you for reading!